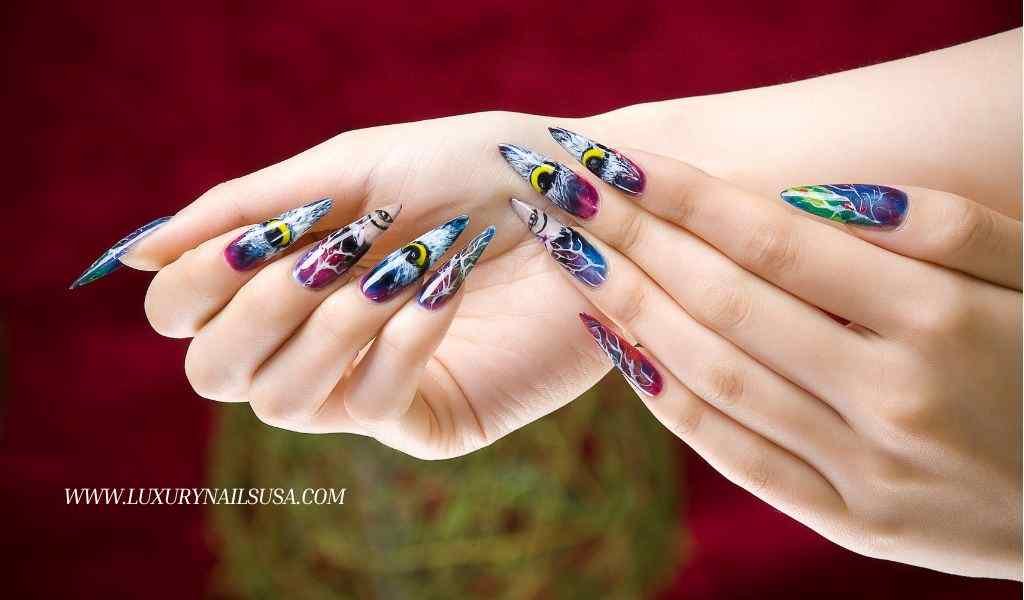
Introduction
Are you tired of shelling out hours and cash at the nail salon? Listen up, nail enthusiasts! Press on nails are seriously a game-changer! Now, you can rock flawless, salon-worthy manicures from the comfort of your home – no more waiting around forever.
Want nails that scream you? Dive into this tutorial to craft custom press on nails that perfectly match your vibe and style. It’s easy, enjoyable, and oh-so-satisfying!
Gather Your Supplies
Here are the items you’ll need to make your press on nails:
- Acrylic or Gel Nail Kit (including a UV light if using gel)
- Nail Tips
- Nail Glue or Adhesive Tabs
- File and Buffer
- Cuticle Pusher
- Nail Polish/Designs, Gems
Materials Needed
To start, gather your materials to ensure a smooth, frustration-free experience:
- Nail tips: the foundation of your press on nails.
- Nail glue: for durable and strong adhesion.
- Nail file: To shape your nail tips to perfection.
- Nail polish or gel polish: Choose your favourite colours.
- Nail art decorations (optional): Unleash your creativity!
- Topcoat: For the ultimate shine and longevity.
Budget Pick
KISS Everlasting French Press on Fake Nails – Real Short
Budget Pick
KISS impress Color FX Press-On Nails, No Glue Needed, Green,
Preparation
Preparedness is vital in the art of nail design. Follow these steps:
- Ensure your natural nails are clean and completely dry.
- Select nail tip sizes that best fit each of your nails.
- Prepare your workspace: Clean, well-lit, and with all tools.
Application
The application process is where precision meets patience:
- Trim and file the nail tips according to your preference.
- Apply a thin layer of nail glue to each nail tip.
- Gently press the nail tip onto your natural nail, securing the bond.
- Allow enough time for the glue to dry completely.
Design and Decoration
With your nails securely in place, it’s time to decorate them:
- Apply a base coat with nail polish or gel polish.
- Embellish with nail art: stickers, gems, or your designs.
- Dry: Ensure each decorative addition sets ultimately.
Finishing Touches
A good topcoat can seal your hard work and add excellent gloss:
- Apply topcoat evenly over each nail.
- Use a cleanup brush to tidy any smudges around the nail edges.
- Dry thoroughly: Your craftsmanship deserves preservation.
Tips for Longevity
Press-on nails can offer enduring beauty if appropriately maintained:
- Protect your nails from water and heat when possible.
- Handle with care: Your nails appreciate gentleness.
- Safe removal will ensure your natural nails stay healthy.
Removal
When it’s time to change your style:
- Soak nails in warm, soapy water to weaken the glue.
- Gentle removal from the edges can prevent damage.
- Clean up: Use nail polish remover for leftover residue.
- Moisturize after the process to keep your hands soft
Conclusion
Making your own nails is a fun, pleasurable technique that encourages self-expression and creativity. Experiment with precise designs, and most significantly, revel in the ability and comfort they provide.
Remember, exercise makes perfect. The more you dabble in crafting your press-on nails, the more professional you may become. We hope this manual has inspired you to try DIY nail presses and discover the limitless possibilities they offer.
FAQ’s
Will press-on nails damage my herbal nails?
Press-on nails can cause minimal damage if eliminated effectively. It’s essential to use gentle removal strategies and allow your herbal nails time to breathe between programs.
How long do press on nails final?
The durability of press-on nails is predicated on elements encompassing the excellent substances used, your daily activities, and how well you hold them. With proper care, they might last up to weeks.
Can I reuse press-on nails?
If eliminated cautiously, press-on nails may be reused in several instances. However, it’s crucial to ensure the nail tips are clean and free of vintage glue before every software program.
Are there any pointers for ultimately making my nail press longer?
Avoid submerging your nails in water for prolonged periods, use a base coat and topcoat to increase durability, and be mild while managing your nails. Also, consider using a nail adhesive instead of nail glue for more potent adhesion.
What if I have no nail art decorations?
Don’t be concerned! You can still create specific designs using nail polish or gel polish. Get innovative with unique hues, patterns, and techniques like ombre or marbling. The possibilities are countless!
